
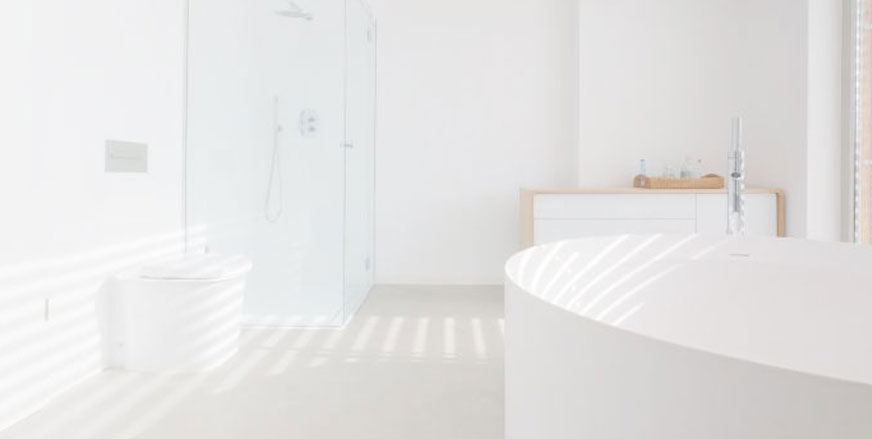

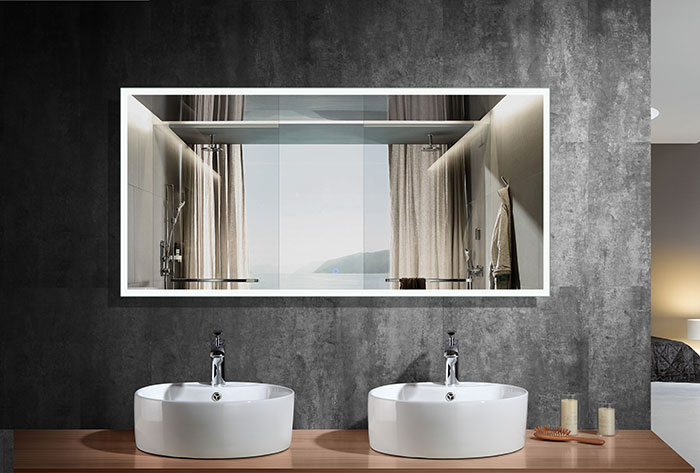
Make an LED illusion mirror
The procedure for this DIY is shown below.
Materials: box framed mirror, roll of car window tint film, super glue, cleaning reagents and a strip of colour changing LEDs.
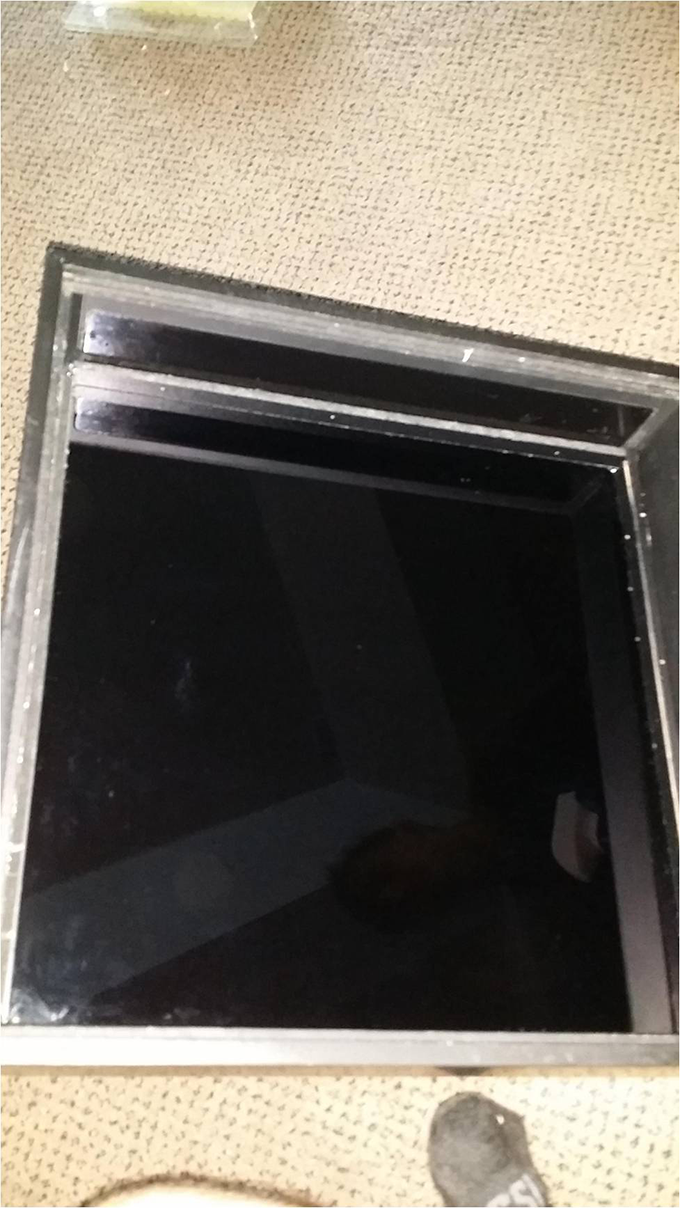
Procedure: first remove the mirror from the frame using any possible method.
- The next thing you have to do is to clean up left over glue on the surface of the mirror. It is important to clean either sides of the mirror to remove all specs of dust.
- After this, you can do well to polish with glass cleaner on either side of the glass. Clean the edges of the mirror frame and remove all specs of dust as well.
- Cut out the tint film in line with the size of the mirror frame, and then peal film to remove the covering line.
- Spread glass with soapy water and apply the tint film. You can use an old gift card-squeeze out gas bubbles.
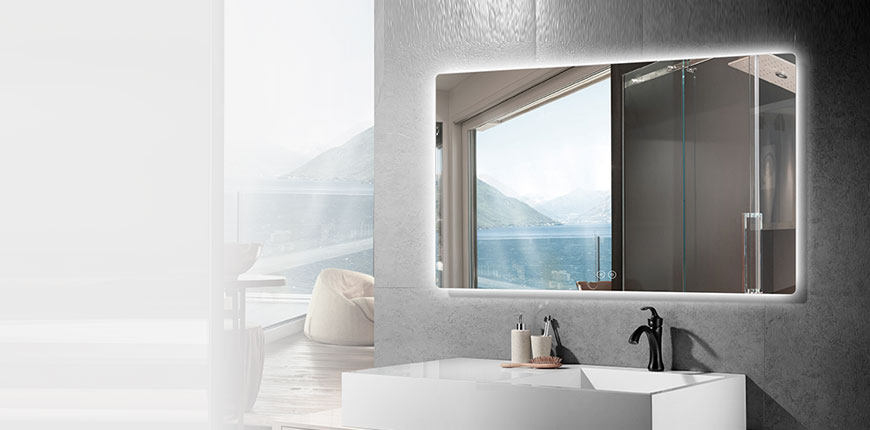
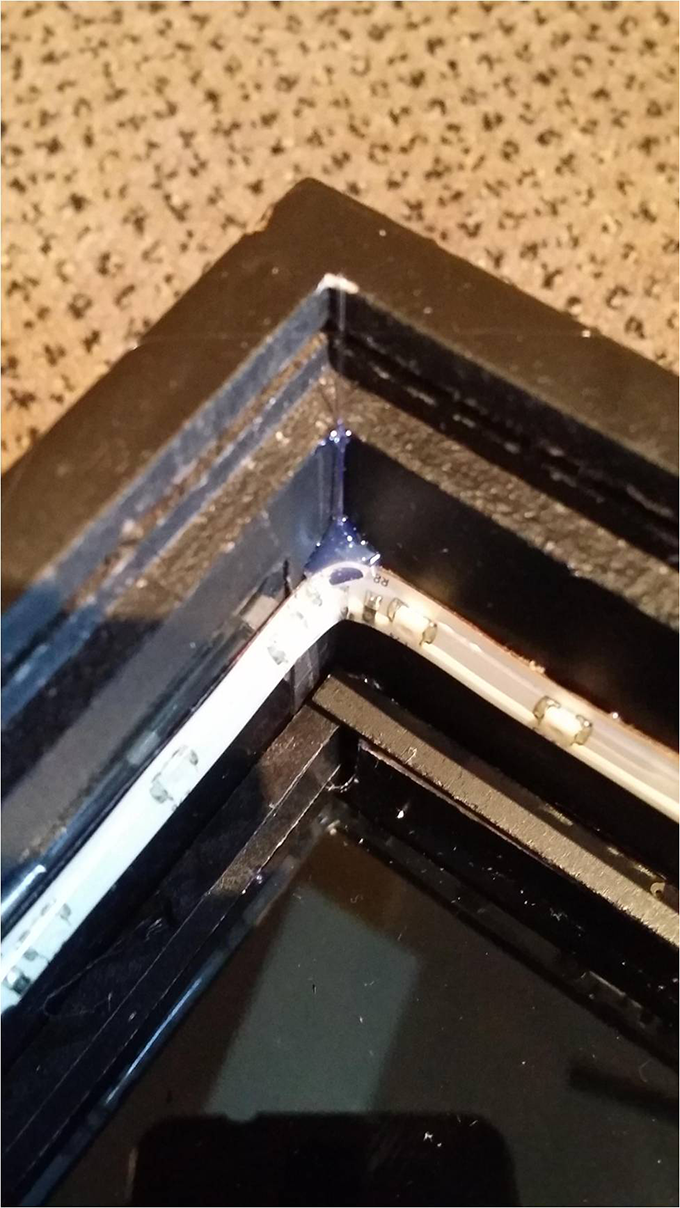
- Fit back the frame, and then use glue to attach the LED strip on the edges of the mirror frame. You should wrap the strip on the sides of the inner frame.
- Mirror fitted back to the frame and kept in place by nails.
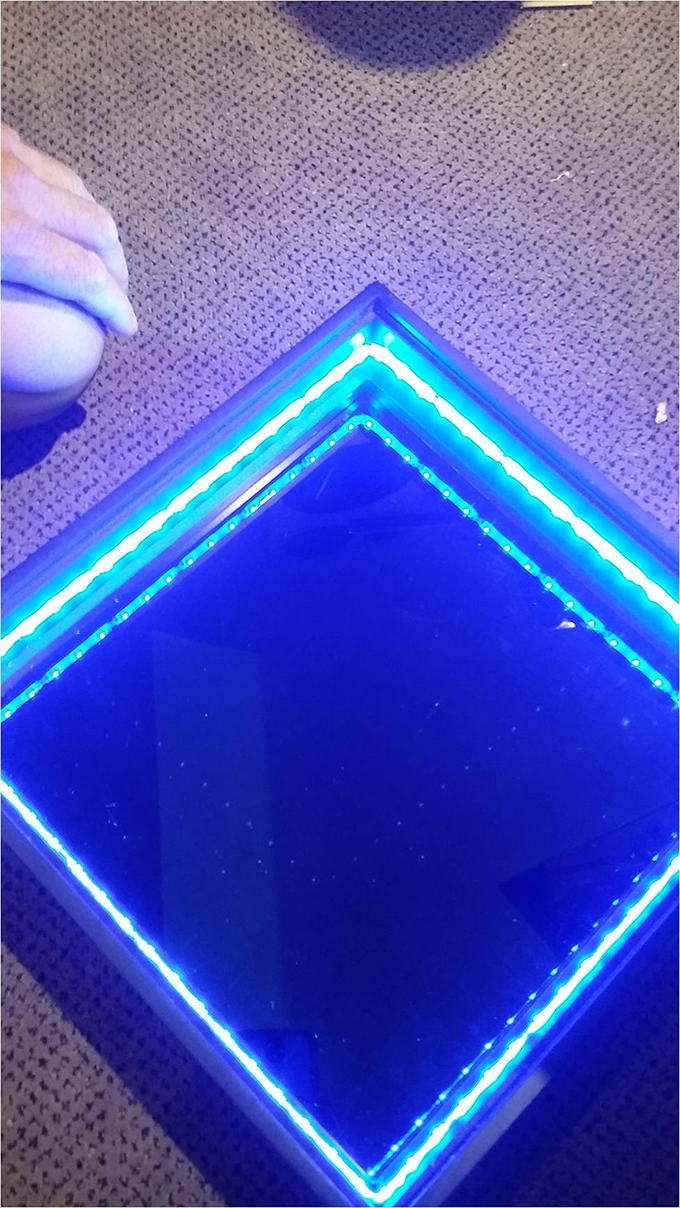
- Program the lights in line with your preferred LED glow.


Comment: very simple and straight forward.
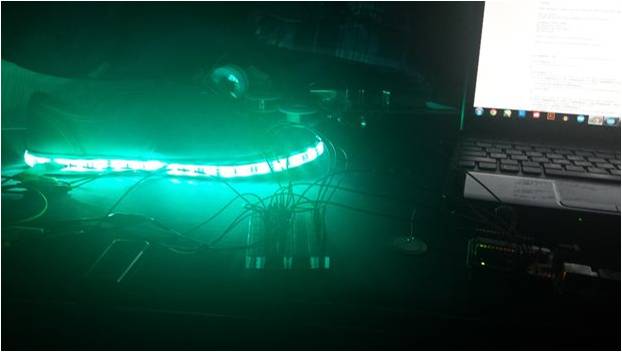
LED Sneakers
This is the DIY procedure for coming up with LED sneakers.
First of all, you need to collect Materials: shoes or sneakers, electrical tape or duct tape, superglue, USB + Arduino UNO, 9V battery, battery clip, solderless breadboard, jumper wires, 3 x MOSFETS, 1 x Megaohm resistor, 1 Piezo disc, RGB LED strips, soldering iron or soldering gun and solder.
Procedure:
Start by attaching the LED strip to the shoe. You have to clean up the edges of the shoe in order to remove dust particles from the shoe sole. Cut out the LED strips in line with the size of the shoe. After this, use glue to attach the strip of LED to the surface of the shoe. If the LED strip has a paper backing, remove it to make the glue more effective.

After the above, you have to program the LED and piezo attachment. The LED lights will glow in line with your code. You can choose to add or remove certain comments from the code depending on the glow that you want. The piezo has to be fixed in place using electrical tape. You can use the wire that the piezo had come with.


Comment: easy to make and great outcome.
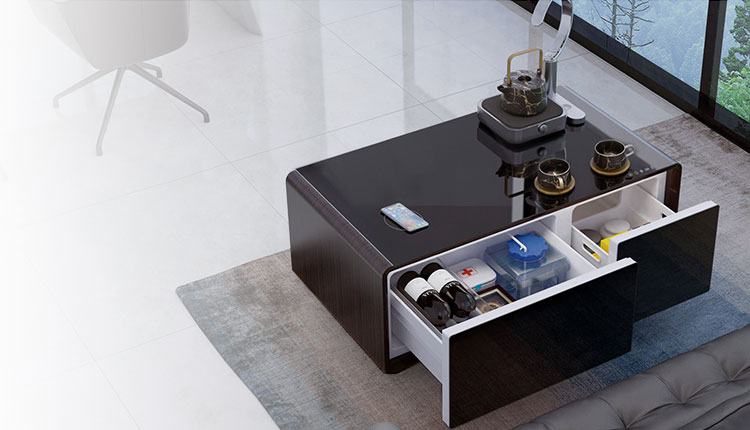
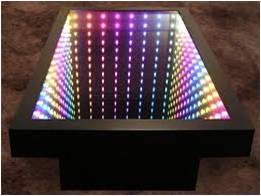
LED Infinity Mirror coffee table DIY
The final product of this DIY is shown below.

G-code generation has to be done first; the code for the lighting pattern of the LED lights solely depends on you. But, the following example is perfect.

Materials: the main materials that you need for this DIY are wood, sand paper, wood finish, nails, vice or vices, wood glue or wood fix, paint of your desired colour, mirror and tint film.
Cut out the pieces of the coffee table as shown in the diagram below. The top parts of the wooden frame must be cut out as shown to make it very easy for it to function as a mirror frame. Otherwise, the mirror will not be held in place.

Notice that the table consists of several identifiable parts which have been joined to form one unit. The leg joining detail is shown below. 
Sand and finish to give the table a stunning and glamorous appearance. You can paint the table in line with your colour specifications before allowing it to dry and eventually fitting the mirror. The strips of LED lights must be fitted on the sides of the top part the table, which is technically acting as the frame of the entire setup (the part holding the mirror).
Comment: great DIY project, but exceedingly laborious.
Illusion mirror LED Chess DIY
Materials: LED light strips, frame, tint film, glass, power cables, mirror, tape made of aluminium, hot glue, shadow box (as frame; you can replace the original glass that it comes with if you want, for added strength).


Tool to use: in order to successfully come up with this illusion mirror LED chess, you need to be in possession of a sandblasting kit, a soldering gun for hot glue, cutting tools (rotary cutter) and grinder.
Procedure
Cut out mirror in square pieces depending on size of mirror frame; measure dimensions of mirror frame before doing this.
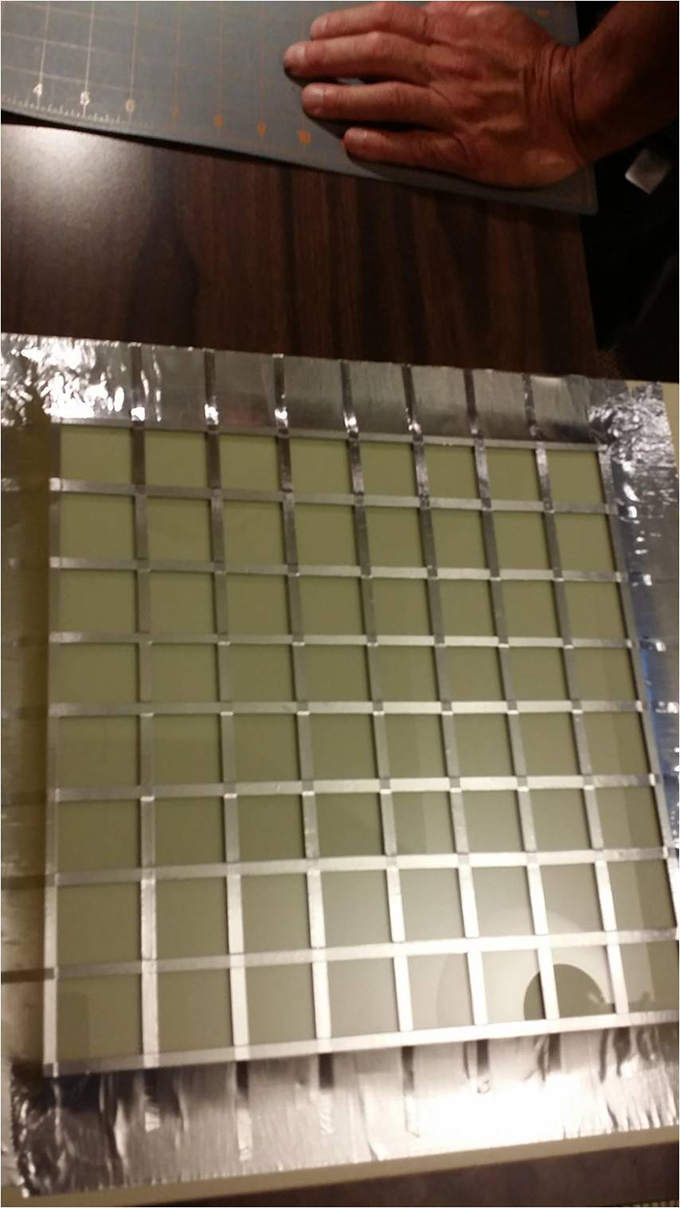
To come up with the chess grid, you have to cut out strips of aluminium tape into smaller pieces whose length corresponds to the length of the glass and grids. Make sure the aluminium strips are a bit longer than the glass and frame so that they can over the length of the frame and glass. Then cover the ends of the grids with larger and longer strips of aluminium.

This procedure is followed by cutting out aluminium strips to cross with the current ones. After this, you are supposed to cut out several square pieces of aluminium strips and cover the squares of the grips alternately. The outcomes of these two steps are shown below.

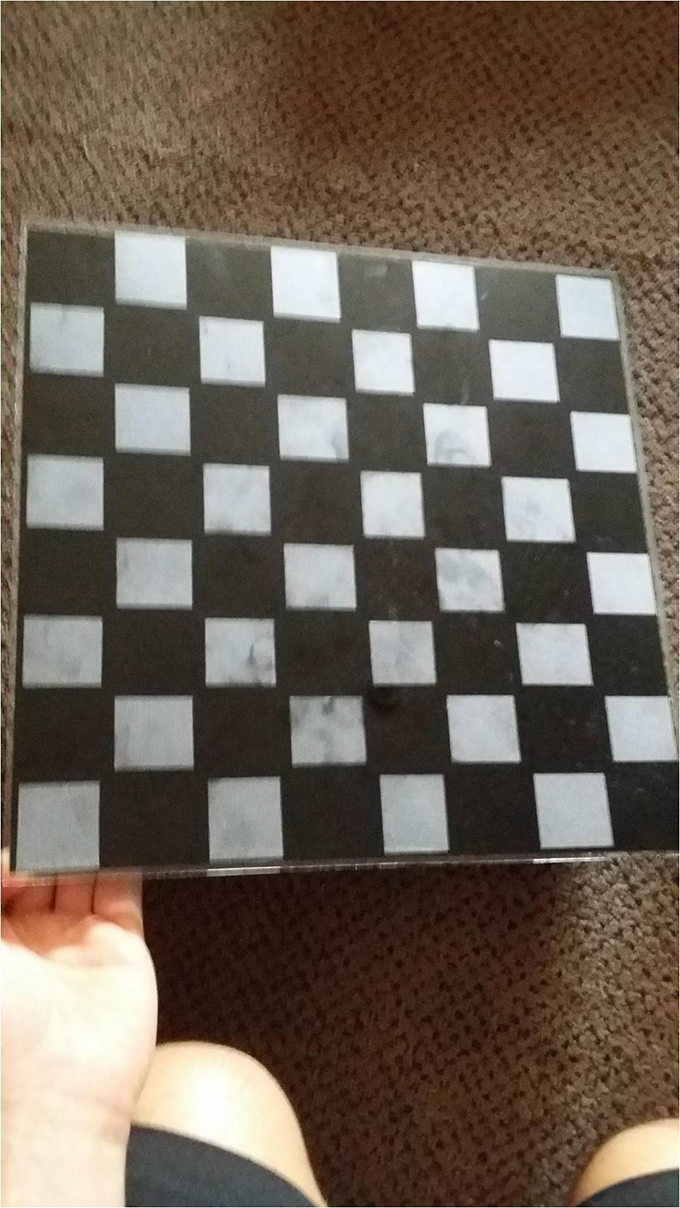
Sandblast while the tape is still in place and then peel off the tape. The result of this is shown below.

Apply tint film on the other side of the glass, fit the glass along with tint onto the frame and glue the LED lights to the sides of the frame. You should get the following results.
Fit the cardboard on the back of the frame, which should appear as follows. It is very important to make sure that the back cover is fitted properly to keep the LED lights and the entire frame in position.

Your final mirror LED chess should appear as follows. The glow of the LED lights depends on your programming. However, a code that allows the LED lights to glow as indicated below is actually a good one.

Comment: great DIY project. A bit cumbersome to make, though.

Post Comments
You must be logged in to post a comment.
click here to log in